If you’re into web development obviously you know the VS Code editor. Most importantly, you wouldn’t miss experiencing how their default options hinder your productivity. Here are some extensions that can be used to increase your efficiency.
1). Be afraid of Windows: If you are on Windows, on one beautiful day you would be presented with a blue screen. You may never see your good old Windows or the data in it again.
So, prepare for that sunny day, sync up all the settings, extensions and themes with your account.

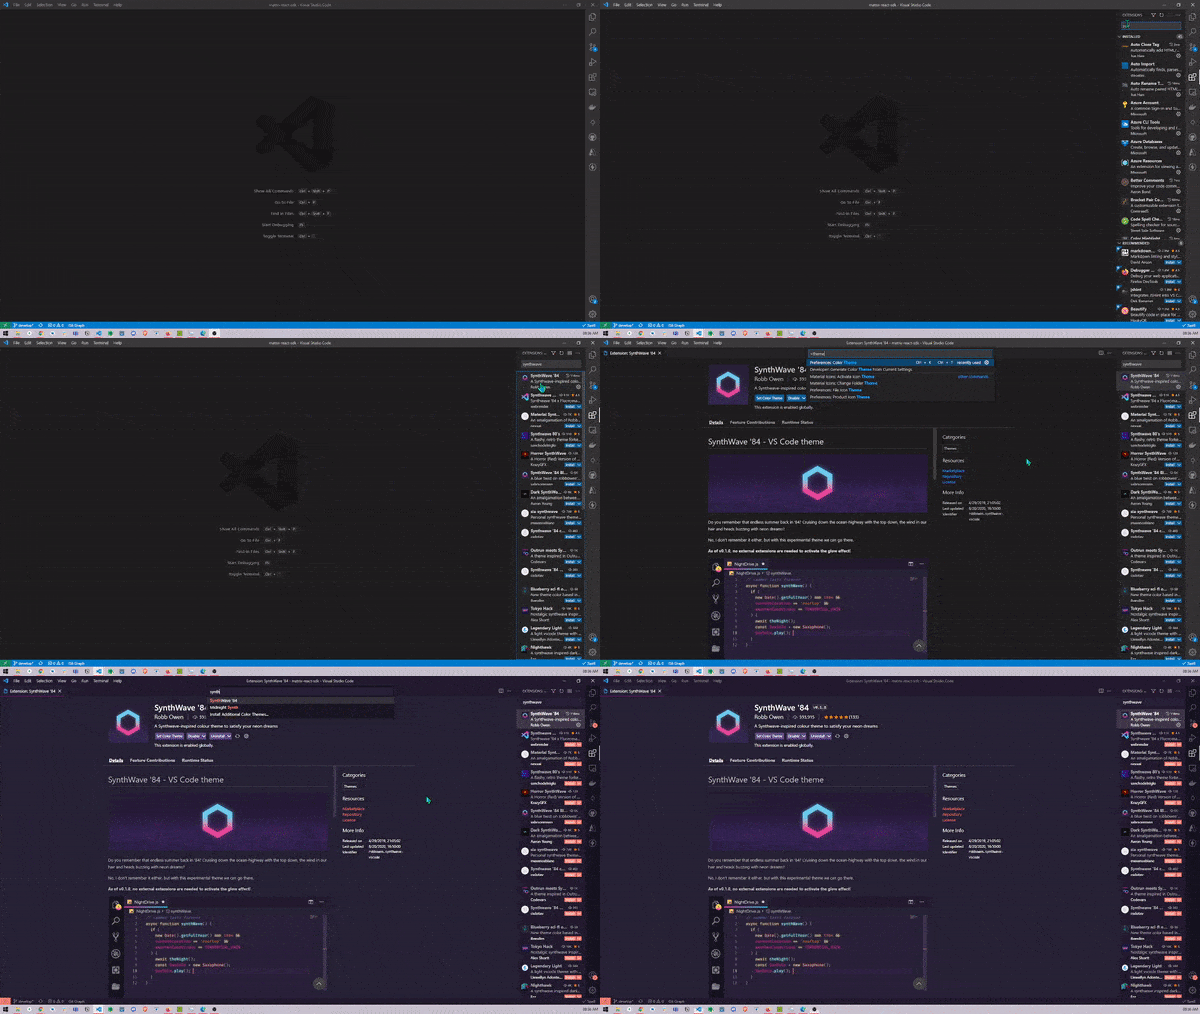
2). Say goodbye to the Default Theme: The default theme is okay, but the theme you choose can be better. The most common one is Night Owl, but I personally use SynthWave ’84.
To get your desired theme, download individual themes from the extensions and then open command palette using ctrl/command + shift + p. Select the downloaded theme from there.
3). Knowing VS Code: Many a times, I searched for “VS Code shortcut to show/hide the pane in the left”.
But the point is to know what different panes are actually called.

4). Get Focused: Change the position of the activity and the sidebar from left to right
By doing this, the editor doesn’t shift on opening/closing (ctrl/command + b) the sidebar as it does when they are in the left. Hence, less annoyance.

5). Cut the Clutter: If you see your Task bar, you would see a lot of junk there.
Let’s clear the clutter by right clicking on the task bar and keeping just what you really need.

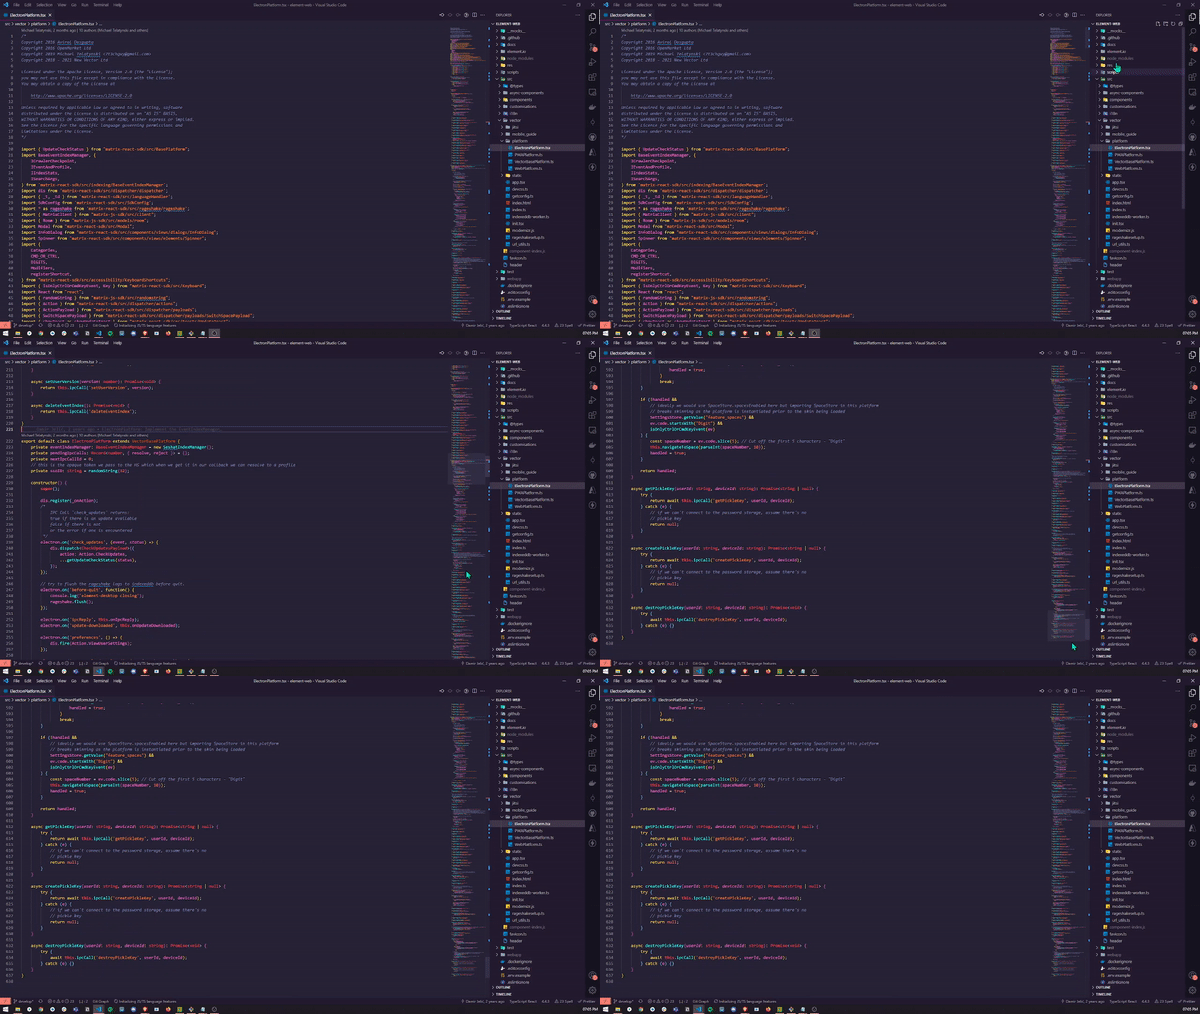
6). The Minimap Controversy: Most people out there would tell you to turn it off and give the most obvious reason that you don’t need it. But let me sell you an argument here.
You can travel through a large file a lot faster in fewer clicks without scrolling a million times.
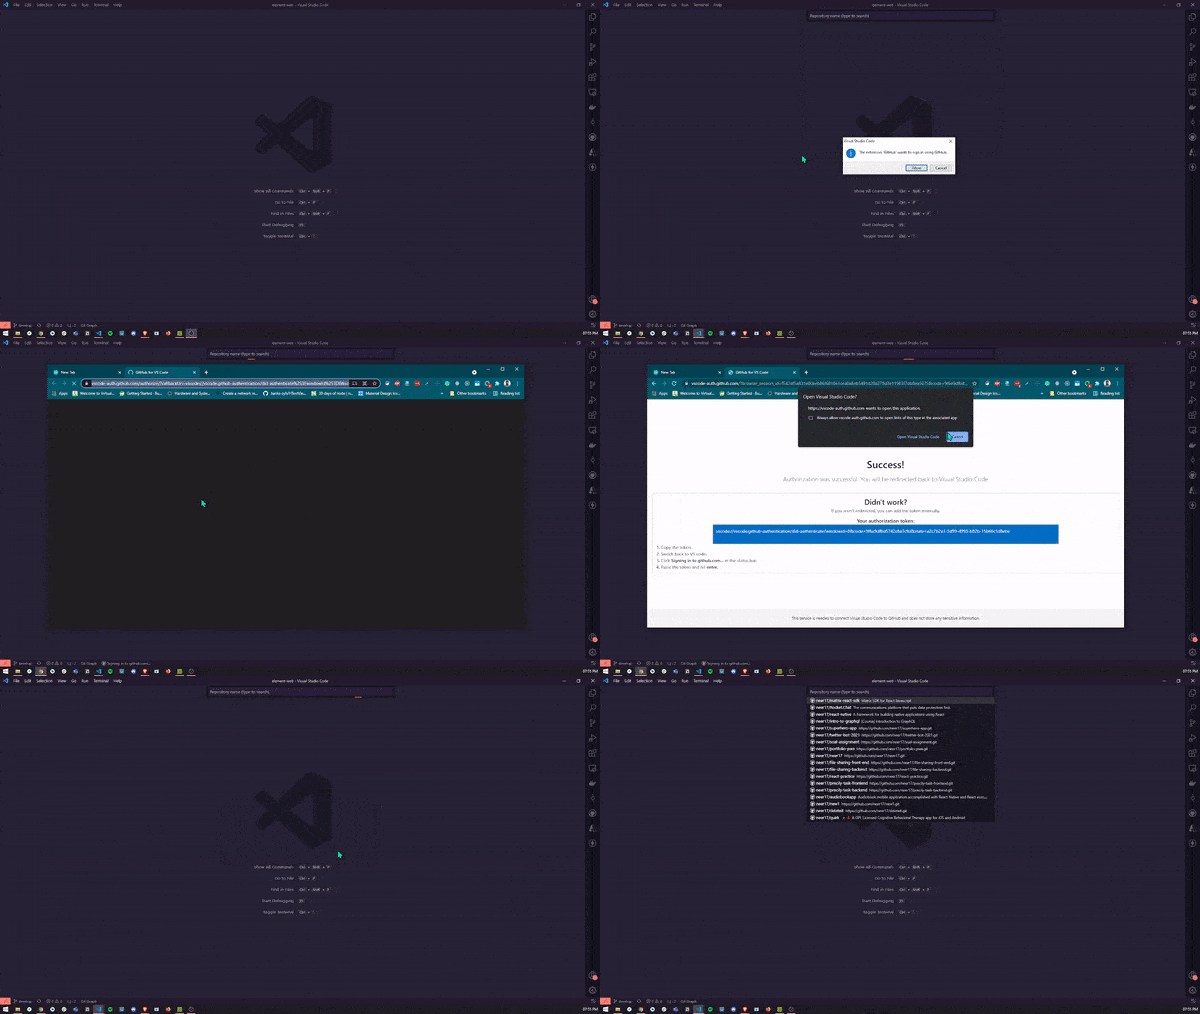
7). Clone a repo: The old days of cloning a repo and then opening it in the editor are long gone.
Clone a repo directly form command palette (ctrl/command + shift + p).
8). Good Fonts, Bad Ligatures: Getting fancy with a better font is nice. But I believe, enabling ligature (combining different symbols into one. Example: === becomes ≡) to make codes resemble with Math or English takes away the uniqueness of programming. It is as absurd as writing ‘8’ in place of ‘B’ or ‘o’ as ‘0’ in English.
In case you want to still enable it, download a font that supports it. One of them is Fira code. Watch the video below to enable it. May require a reload.

9). Extensions- VS code Samaritans: Have all of ’em, miss none.
- Auto Close Tag
- Auto Rename Tag
- Better Comments
- Code Spell Checker
- Color Highlight
- Git Lens
- Image Preview
- Live Server
- Import Cost
- Markdown Preview Enhanced
- Prettier
- Thunder Client
- Git Graph
10). 2 cents on Git Lens: Get this extension and blame your colleagues with conviction, as it shows the author’s name on every line of the code.
Putting it aside, we all have once felt the need to compare a file with a different version in a different commit or branch. This is where git lens really comes handy.
Press the previous revision button once to compare with the last commit. Press with “alt” to see all the commit of same branch or even compare with commits of different branch (first option).

11). 2 cents on Thunder Client: While switching a zillion times between Postman and the editor is a great muscle exercise, having an extension that does the same thing in the editor can be relaxing.

12). Mighty Tabs: Do you scroll to different files in the editor section and get frustrated? Not anymore. You can wrap all the tabs so that they are visible altogether. I prefer to keep the tabs to 2 lines to avoid the clutter.
Also, you can close a tab using ctrl/command + w and reopen it using ctrl/command + shift + t (same shortcuts as chromium-based browsers) which comes very handy.

13). AI powered settings search bar: How many times have you given up changing a setting just because you don’t know what it is called? Maybe a lot, but not anymore.
VS Code setting’s search bar is AI powered and can process natural language.
For e.g., If you search for “Settings to zoom into the editor”, it pops up the option of “Mouse Wheel Zoom”, which is also the Segway to the next point.

14). Zoom deep into the Editor: It is one of the most common settings, yet very useful.
It is useful if you are moving the same VS Code window around, among different sizes of monitors.

15). Snippets: Now, most of you have used snippets provided by the extensions that you have. But did you know we can have custom snippets that can be customizable for different languages?
In JS you might have dealt with writing console.log/info/error entirely without snippets but this can be put into a snippet and called by a prefix.

16). Painful Previews: There is a setting enabled by default called “Preview Editor” which makes you click twice to open a file.
Turn it off!

17). Useless Open Editors: Another setting that comes by default enabled is “Open Editors”. Can you see a useless space taking pane in the top of your “Sidebar”?
Yes, that’s it. Turn it off and get yourself some space.


