Ask any photographer or cinematographer and they’ll tell you that lighting a scene is as important as choosing the lens or the composition. Good lighting can be the difference between a flat image and a cinematic image. So, how do we achieve good lighting in our shoots?
Parker Walbeck also known as Fulltime filmmaker on YouTube explains the different directions of light and a little bit about the color of the light using the basic three light setup in this video.
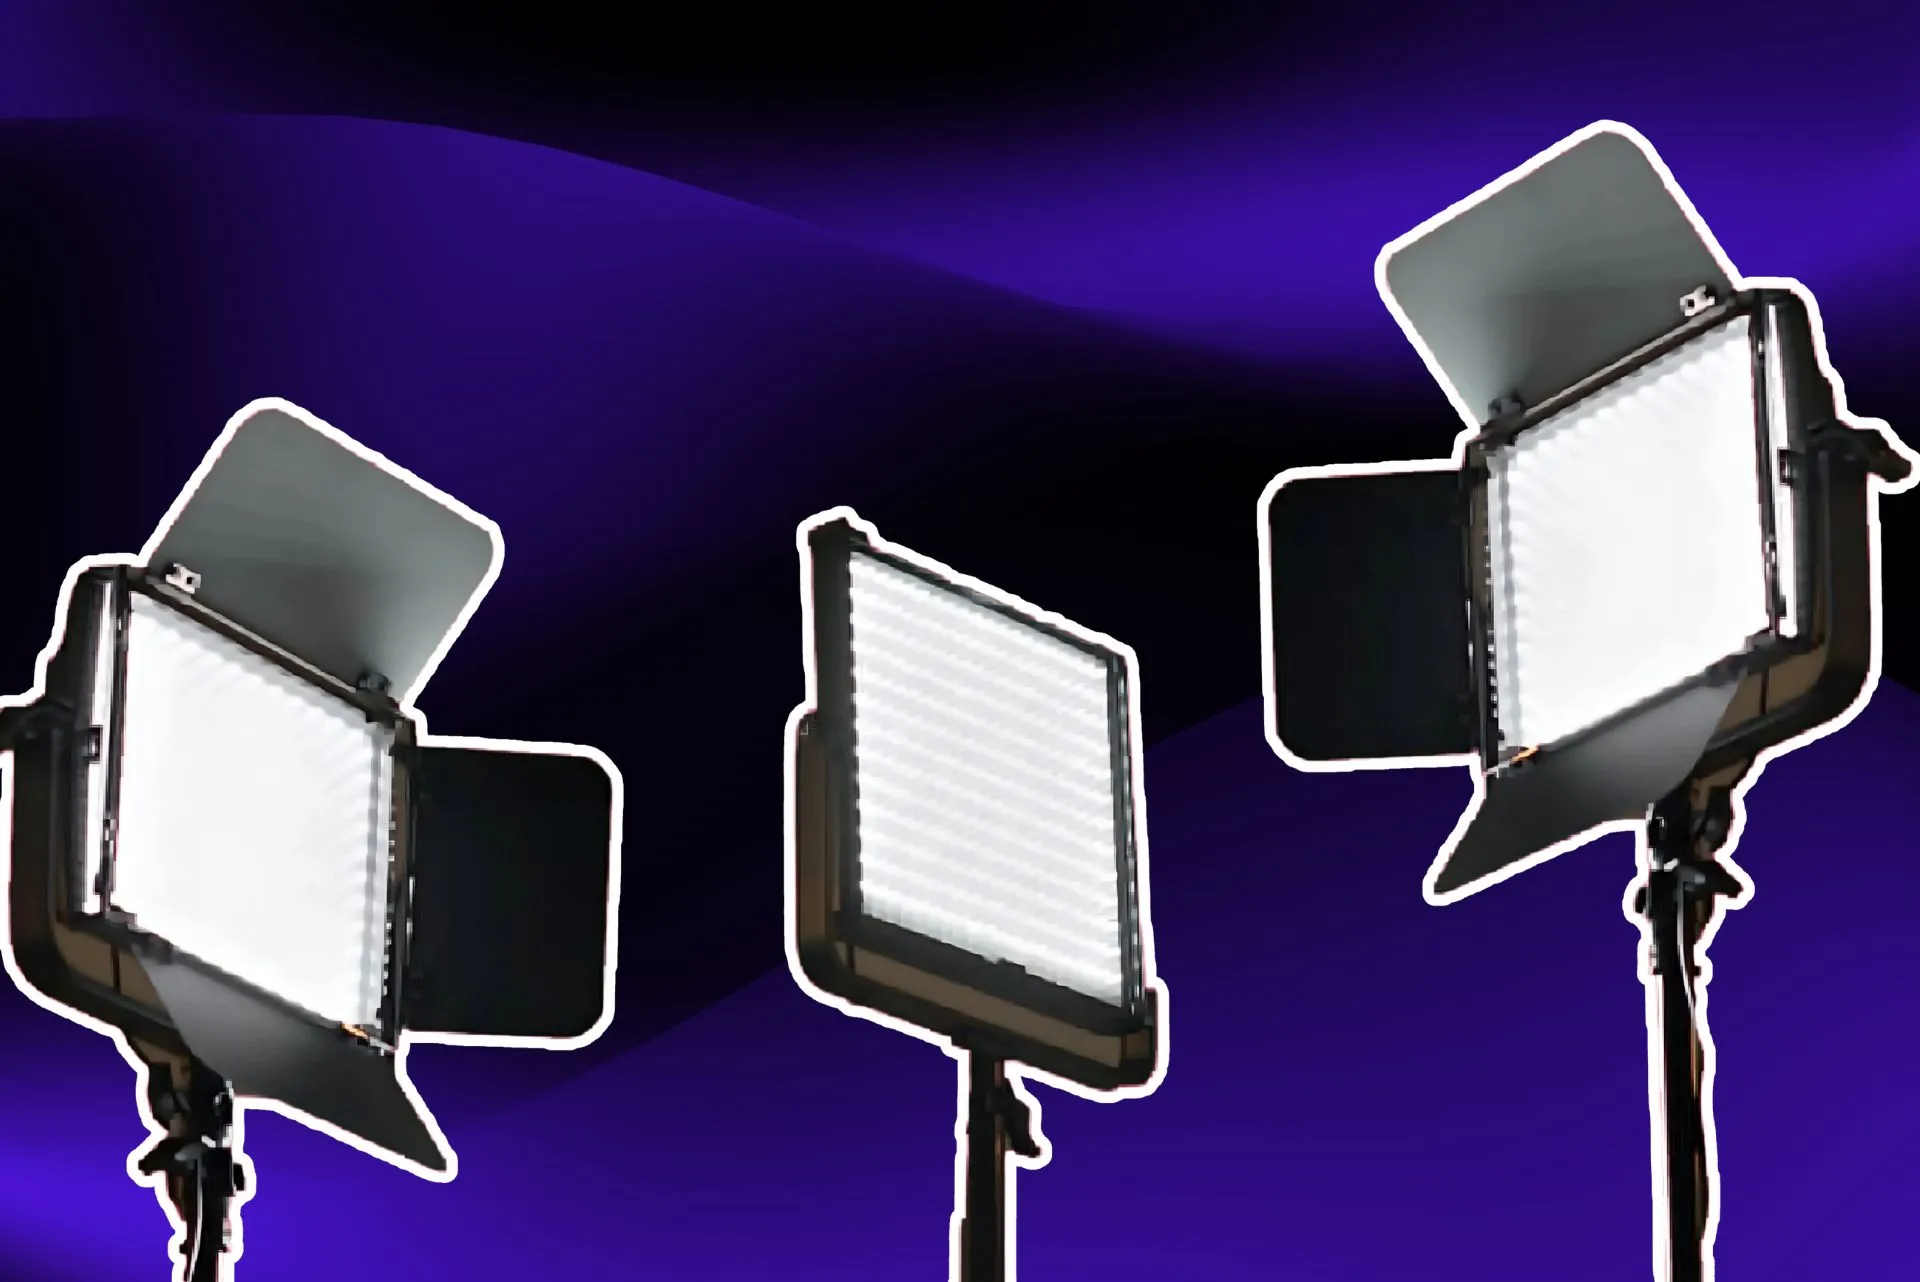
The three-point lighting setup consists of three lights namely, Key, Fill and Backlight. The key light is the primary source of your light on your subject and it is usually at an angle of 45 degrees from the camera and slightly above the subject. This way it creates a really good shadow that makes the image more cinematic. If we don’t want too much shadow we can use another light source to fill up this light known as the fill light. When you have a light beaming at your subject from behind, it gives a neat halo around your subject. This is called a backlight.
Here Are The 5 Common Lighting Patterns That You Can Use To Make Your Image More Cinematic-
1) Flat Lighting –
This is when the key light is right in front of the subject. This way you’ll not see any shadows on your subject. This is the least dramatic look but when it comes to weddings, commercials and corporate films, this is the way to go.
2) Paramount lighting –
This was first made famous by the production house Paramount pictures. When the light is in front of the subject but slightly above, it creates a shadow under the nose in the shape of a butterfly. Hence it is also called butterfly lighting and is used to accentuate feminine features.
3) Loop lighting –
Move the light slightly to the side and you’ll see the shadow under the nose extend sideways creating a loop around your nose. This is generally used on rounder faces so that it appears thinner.
4) Rembrandt Lighting –
This is named after the Dutch painter Rembrandt who primarily used this technique in his paintings. Move the light further to the left and you’ll see the nose shadow join the cheek shadow creating a light triangle on the shadowed cheek.
5) Split lighting –
Move the light to 90 degrees from the camera and you’ll find that this light splits the face into lighter and darker regions, hence, the name. This can be used to make the subject look super dramatic and more masculine and tough.
Last but not the least, unless you want a blank background, you can use a background light to light up your background. A technique used in this case is checkerboard lighting where the side of the key light is lit dimly whereas the side of the shadow is lit brightly. This gives a neat bright, dark, bright, dark effect on the image.


